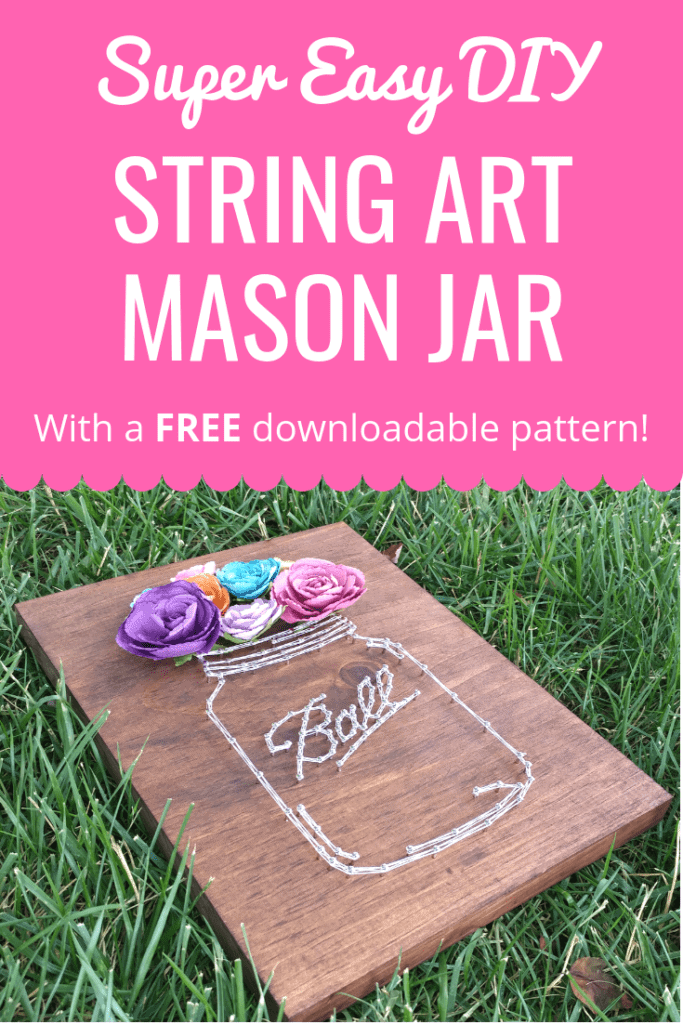
Ball Jar Sign With Beads Diy Ball Jar Sign String Art
Over the past five years, I've created hundreds of pieces of cord fine art, only this Stonemason Jar String Art project is past far one of my favorites. .
It's a fun arts and crafts and you lot tin can create simple or elaborate pieces of art once y'all larn the technique.
I enjoy it so much that I decided to write a beginner level tutorial, so yous guys tin acquire to do this yourself!
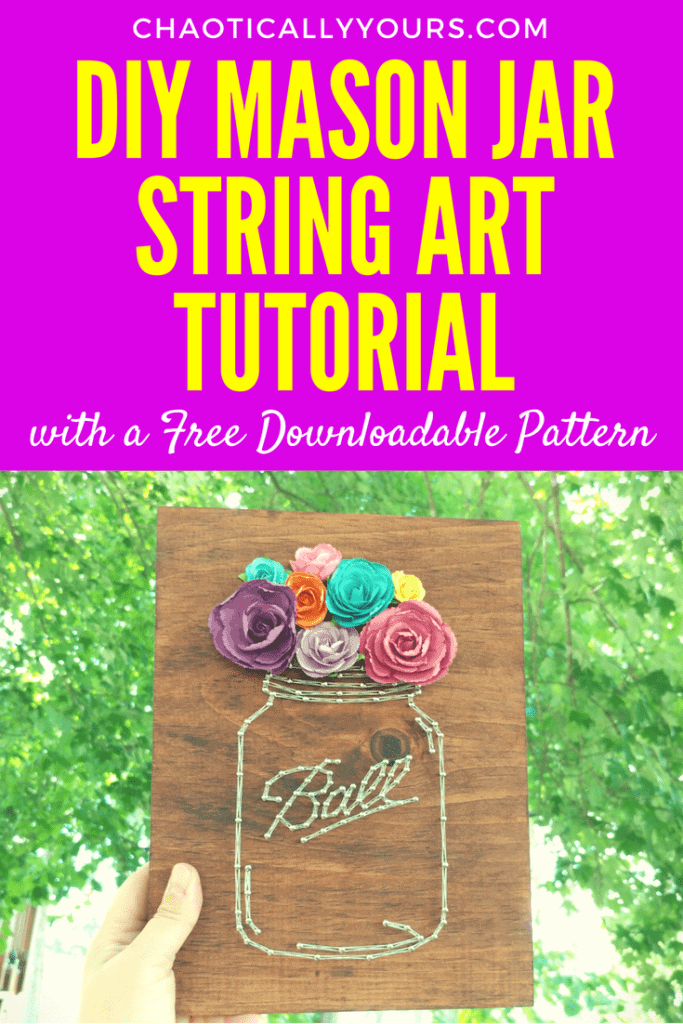
DIY Mason Jar String Art Tutorial

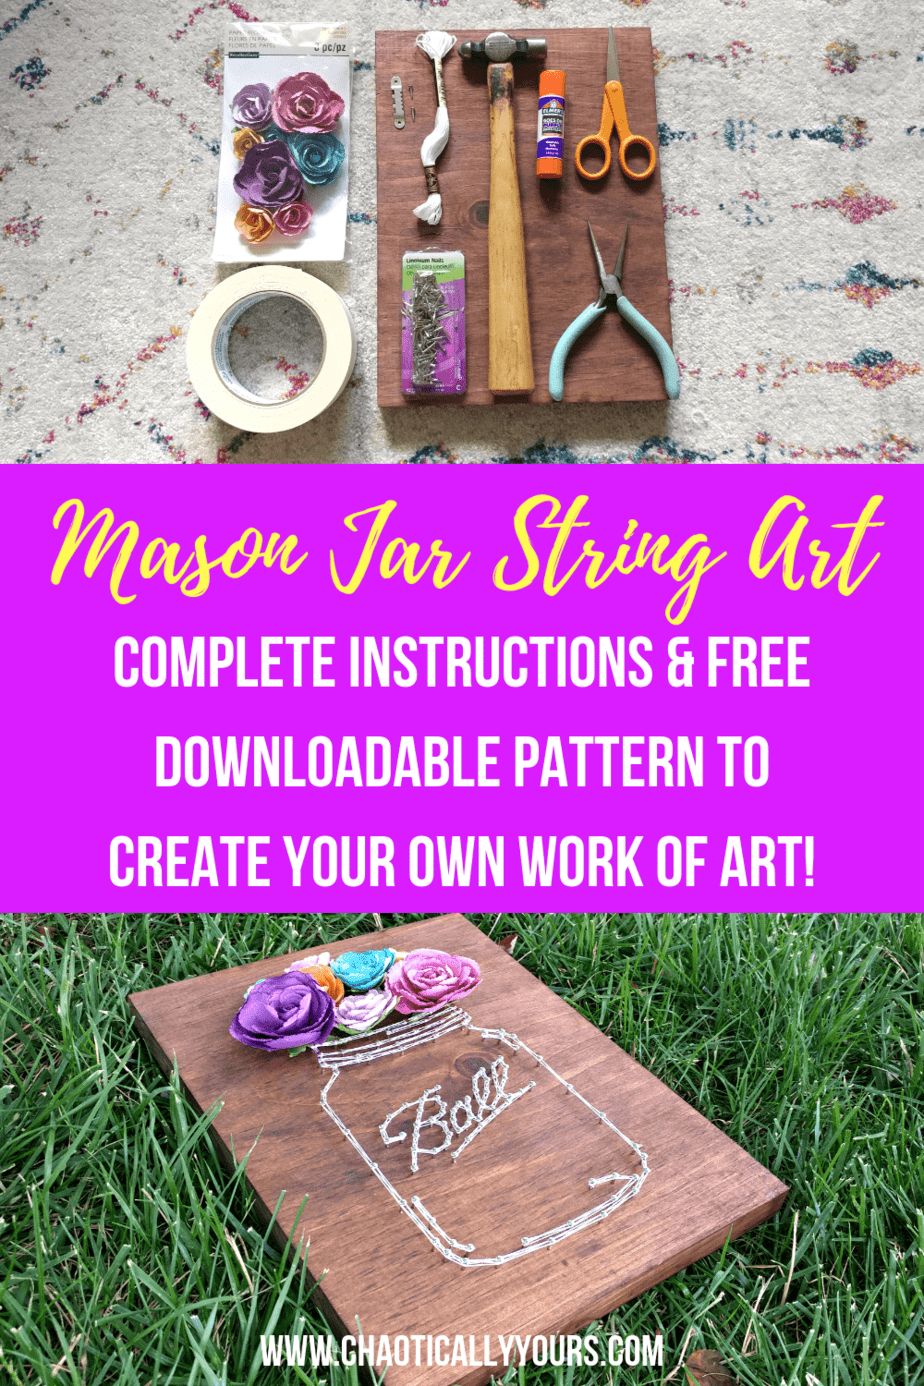
The beginning step is to gather your supplies.
You may already have a lot of these things around your business firm.
For what you don't already accept, you can become the majority of them on Amazon. I'm including links for as many of the supplies as I can.
What you tin can't purchase on Amazon can exist found at most any craft shop, like Michael's, Hobby Vestibule, A. C. Moore, and sometimes even Wal-Mart.
Links in this mail service may exist affiliate links, which means I may earn a committee if you make a buy from any of them, at no additional cost to you. You can notice out more than information by reading my full disclaimer.
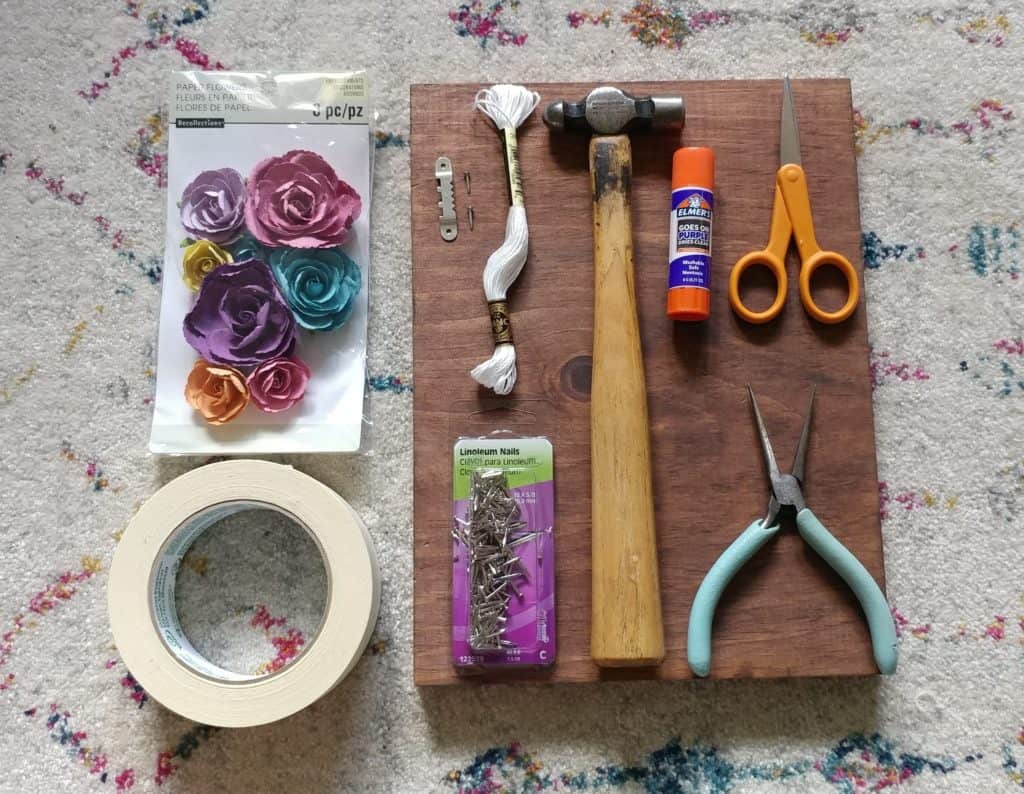
Supplies
You'll demand:
- One wooden board, minimum of viii 10 10 inches. My hubby custom cuts mine for me for me, but y'all can purchase one here:
Walnut Hollow Basswood Rectangle Plaque, 8″ x 10″
- One hammer. I adopt the size and weight of a small ball pein hammer. It's large enough to go the job done, but light enough not to damage the forest much if you happen to accidentally hit the lath while you're nailing. I recommend this one:
Vaughan S016 sixteen-Ounce Hickory Handle Super Steel Ball Pein Hammer, 13 3/4-Inch Long - Needle olfactory organ pliers. You lot'll demand these to concur the nails while you hammer, so they go in straight and you lot don't hit your fingers when you hammer. Trust me. These are essential, and make the process SO much easier! These are very similar to the ones I use:
Dykes Needle Olfactory organ Pliers Extra Long Needle Olfactory organ Plier (6-Inch) - Small nails – I like Linoleum nails. Other people use trim nails, wire nails, escutcheon pins, or shade bracket nails. Whatever yous choose, brand sure you like the finish on the top. That's what will exist visible in your final piece. Y'all can find linoleum nails here:
The Hillman Group 532425 Linoleum Nail - Sawtooth hanger – these come in packets of four to 6. I use this kind:
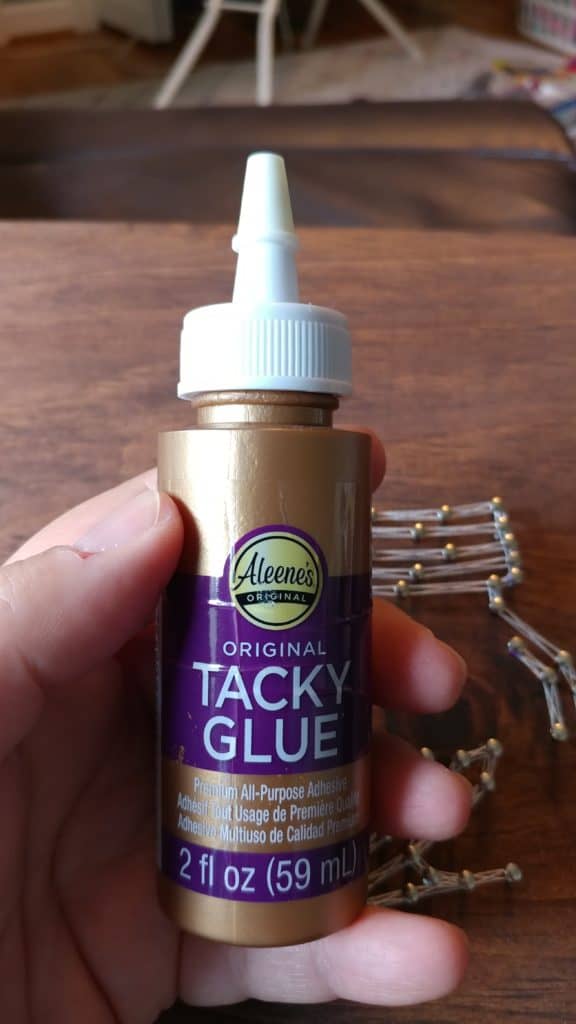
ARROW 161000 Modest Saw Tooth Motion picture Hangers (Pack of 6) - Craft glue – I adopt Alene'southward Tacky Mucilage. It's super secure and piece of cake to utilize. I totally messed up and forgot to put it in the film of the supplies. Oops!! You lot can find it hither:
Aleene'southward 33143 Original Tacky Always Ready Adhesives, 4 oz. - White embroidery thread – I use DMC brand embroidery thread, bachelor at any arts and crafts store or at Wal-Mart. Don't order this online. They're usually less than $0.fifty per skein at any of these stores.
- Mucilage stick – I like the kind that starts purple and turns clear as it dries. Again, purchase these at your local dollar store or Wal-mart.
- Paper flowers – These can be found in the scrapbooking section of whatever craft store. I purchased this particular kind at Michael'south.
- Masking tape – readily available at your local Walmart
- Scissors – just utilise any you have lying around the firm.
From start to finish, a piece similar this takes me nearly an hr, only if you're a newbie to string art, allow yourself more time.
FREE Pattern
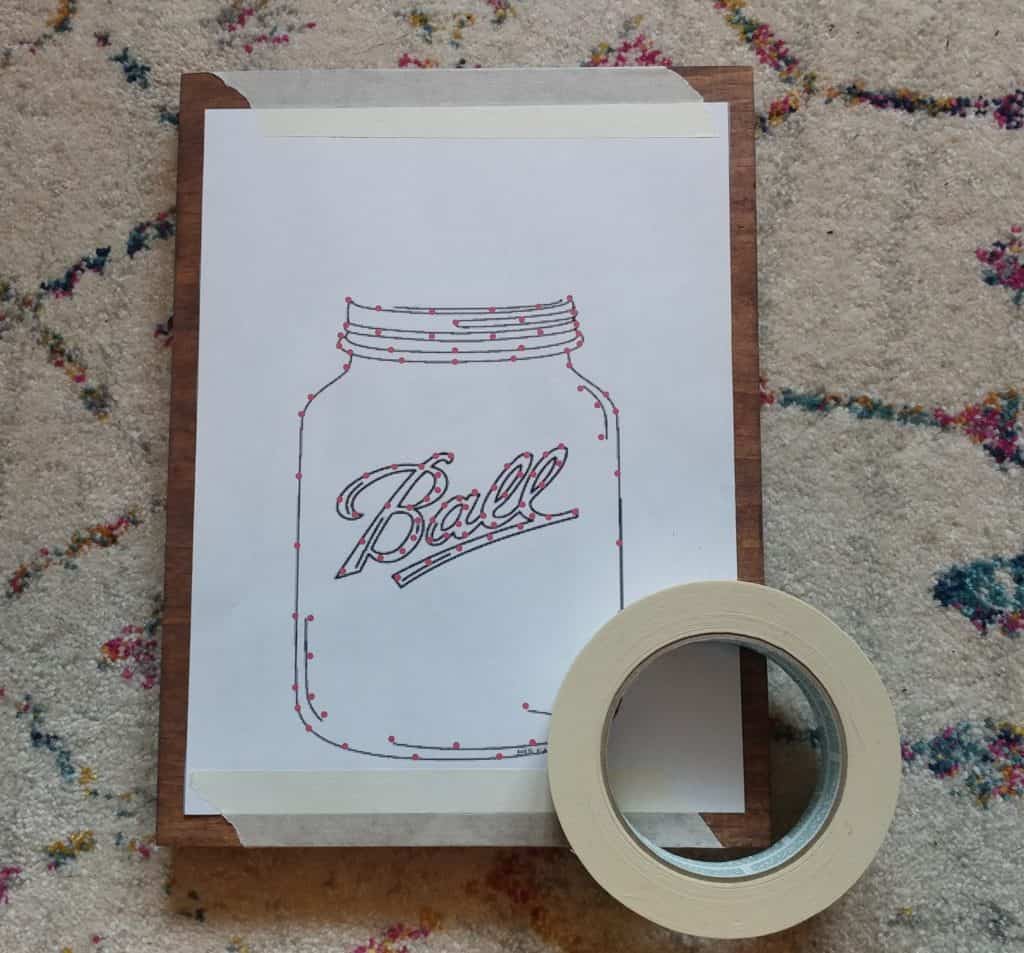
One time you've gathered all your supplies, download and print this template.
Yous can use this link to download information technology:
Mason Jar String Art Template
Once you've printed the template, trim it along the black lines and record information technology to your board with the masking tape. It volition expect something like this:
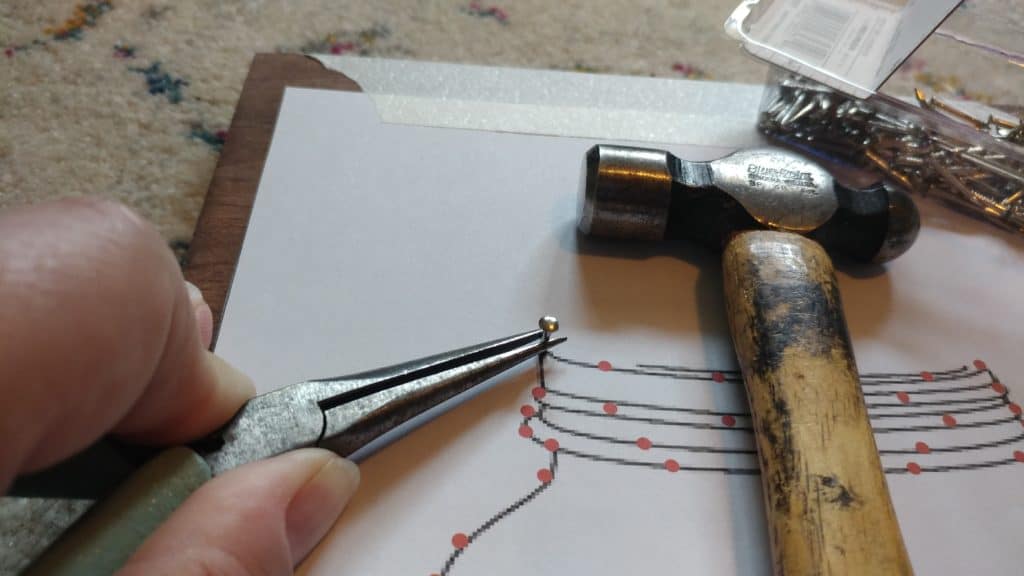
Nailing
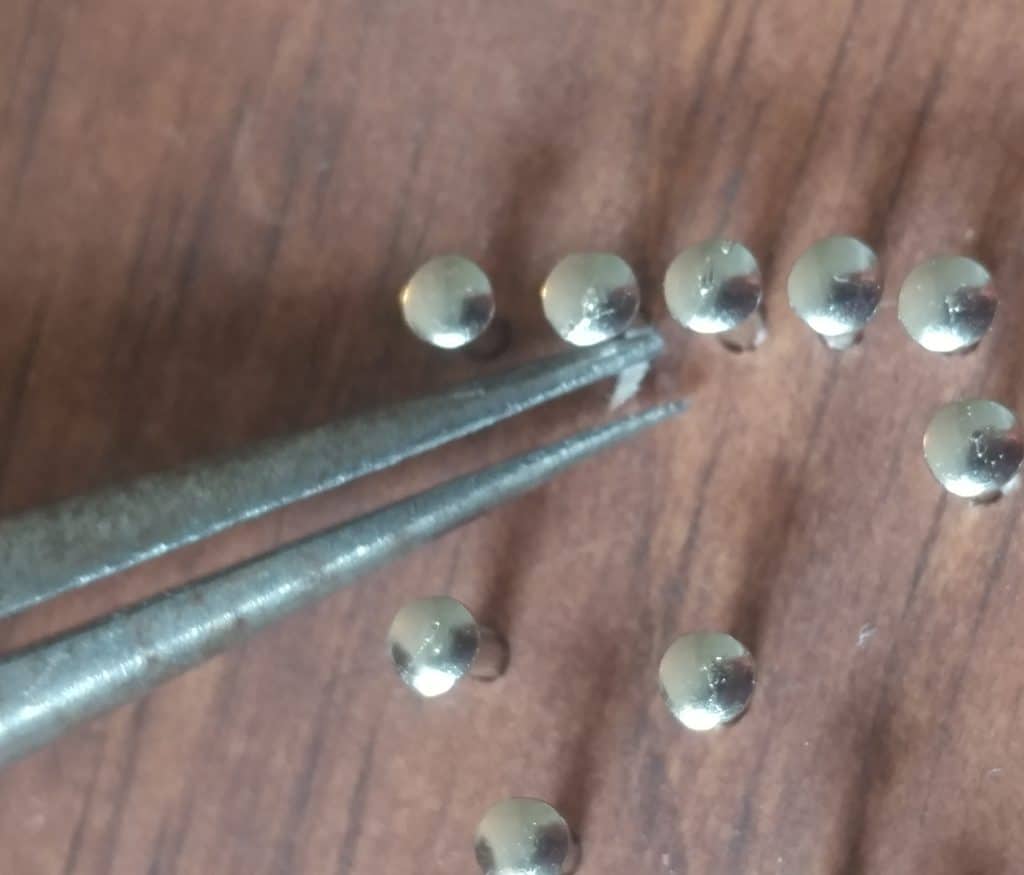
Next, use the needle nose pliers to hold your nails, and hammer a nail into each orange dot.
The pliers help go along the nail straight and as well help keep you lot from striking your fingers!
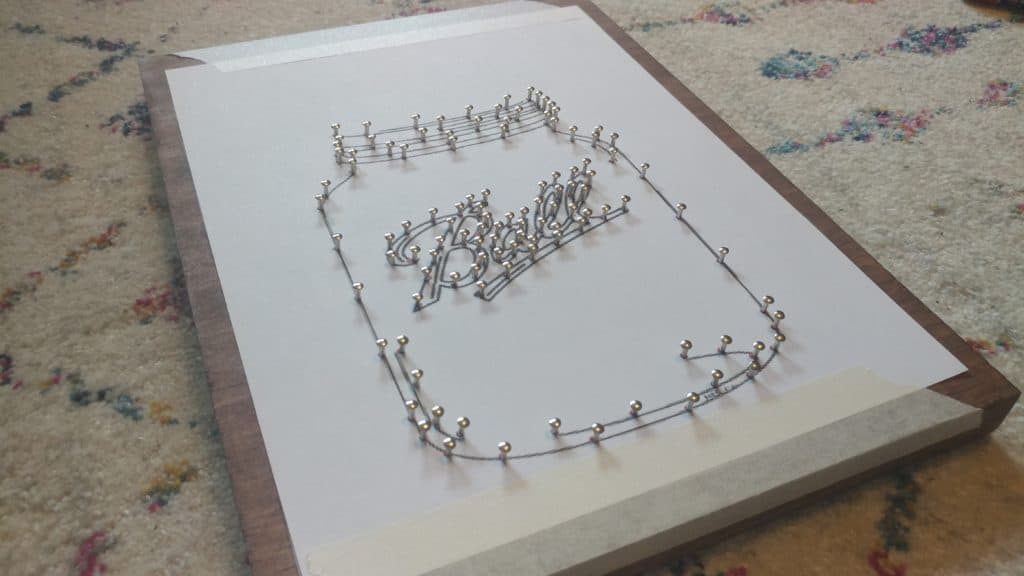
Once you've hammered in all your nails, your lath should look something similar this:
VERY GENTLY, remove the tape and pull the paper template upwards.
If y'all pull to hard or too rapidly, you could remove the nails, and y'all're more likely to leave picayune bits of newspaper behind that tin be difficult to remove.
You also desire to keep your template as intact as possible and so that you tin can employ information technology as a guide when you start to string your piece.
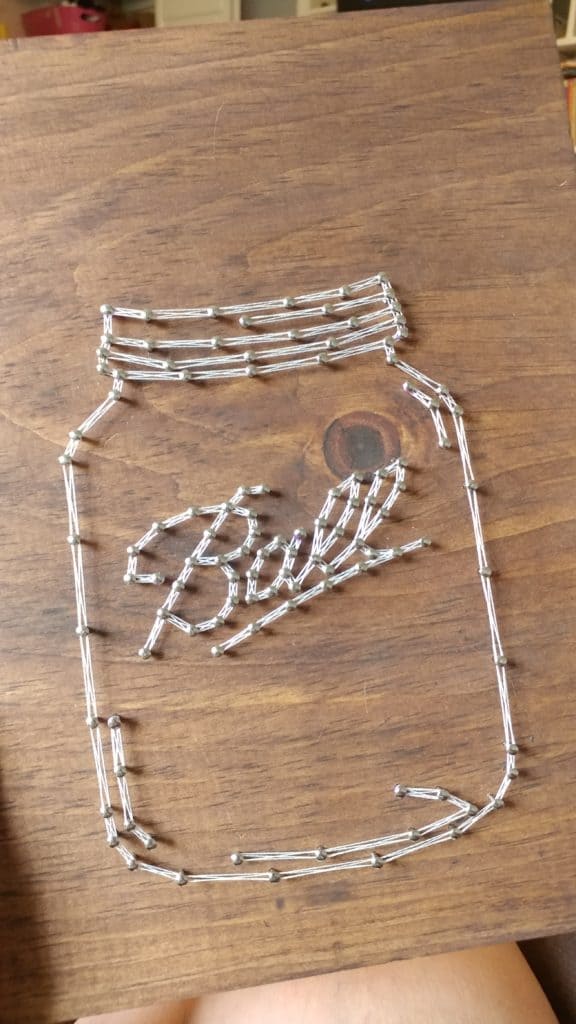
In one case your template is removed, your piece will await something similar this:
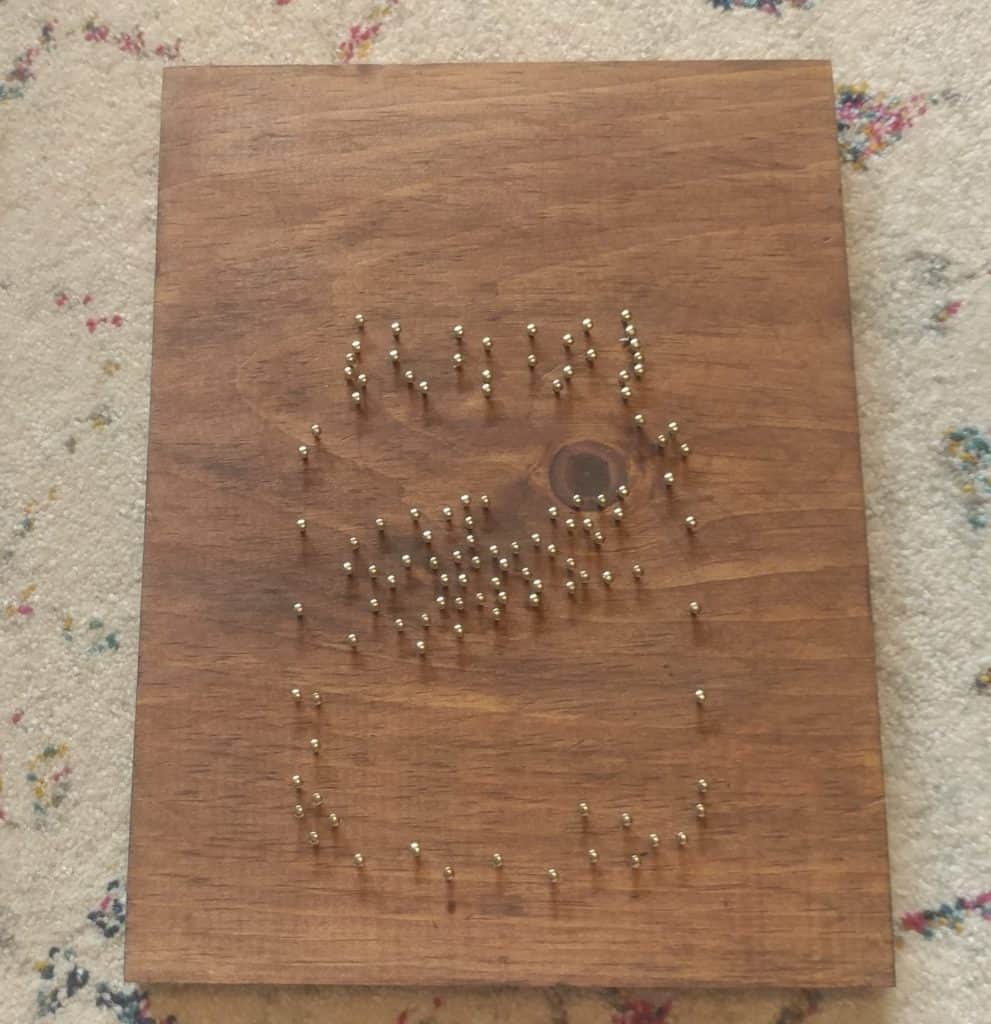
You'll desire to take a skillful wait at your board and your nails, and brand sure you lot pull out any little pieces of paper that may exist stuck on your nails.
The needle olfactory organ pliers come in super handy for this!
Stringing
Next comes the fun office, when your slice really starts to take shape.
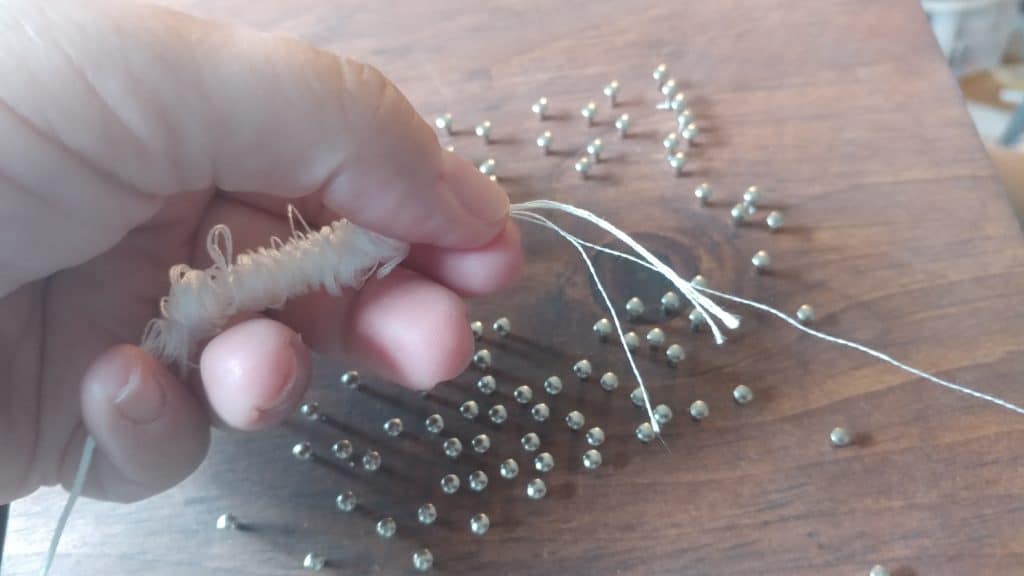
Take your embroidery thread, and unroll the entire skein.
Then gently pull ane strand out.
You can apply the bundled strand, but I recall the single strand is easier to work with and gives the slice a more frail look that resembles the glass jar you're going for here.
Exist sure to pull gently and slowly, then the strings don't get tangled.
It commonly looks something like this while I'yard pulling it:
Side by side, tie the end of your single strand to one of your nails.
I find that the top left boom of the jar is a good identify to start on this design.
There will be several sections of string art that you need to finish on this piece, so finding a skilful stopping and starting point is key.
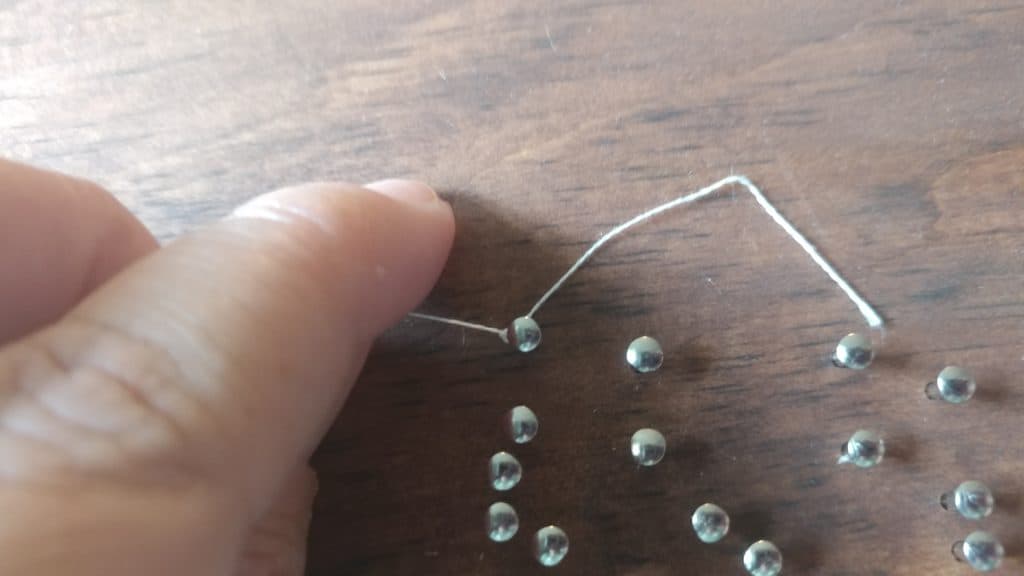
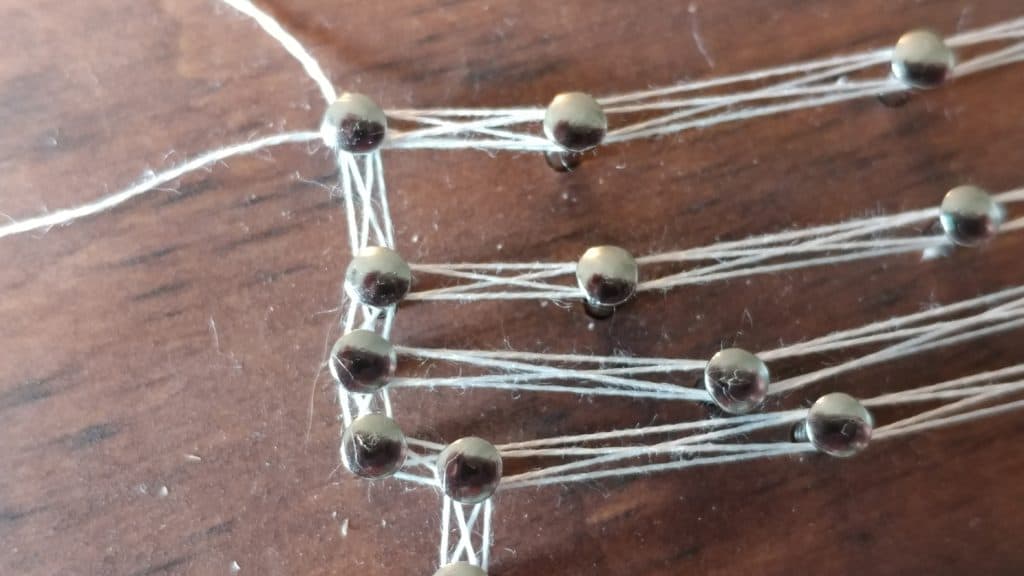
Once my string is secure, I start stringing my slice past wrapping the thread around each private nail.
I use a crisscross pattern to create the lines in most of my string art pieces, as seen in the pictures beneath, but you lot tin can employ any type of stringing pattern that works for you.
I've received lots of requests for a video of how to do this criss cross stringing technique.
Ane is now available on my Snowflake String Art tutorial.
Be certain to use your template to see which nails demand to be connected and which ones don't.
Basically, wherever there'due south a black line on the template, you lot should connect the nails.
Information technology can be kind of confusing at times, but if you have your time and follow the template, it shouldn't accept very long.
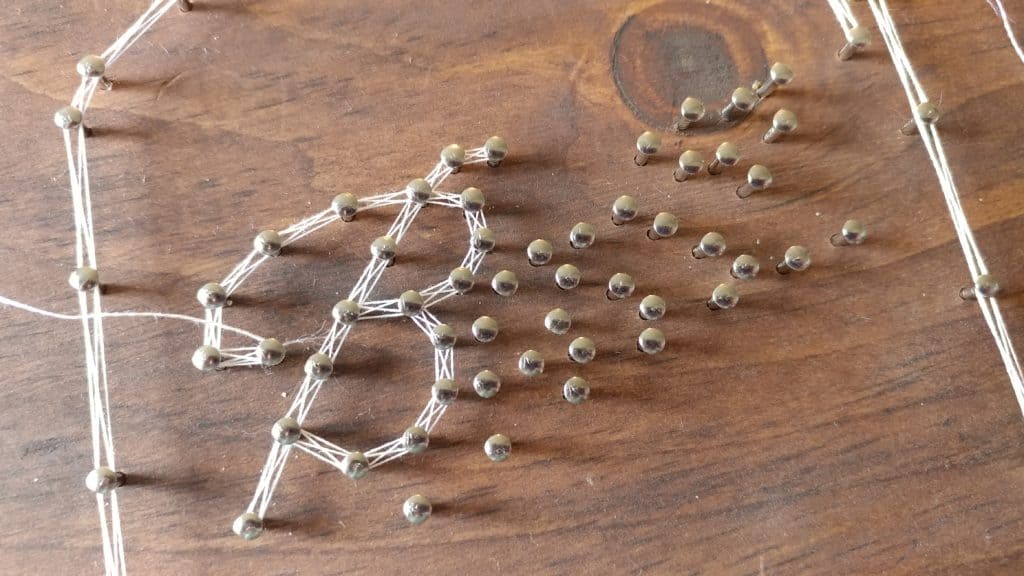
The most complicated part of this piece is the "Brawl" logo in the center.
It can be hard to run across where the cord goes, merely I promise, it starts to brand sense every bit you motility along with the piece.
When you reach the terminate of your string, or when you've continued a section, simply tie the string off to the nail, leaving the ends long. Information technology should look something similar this:
![]()
Here's a fourth dimension lapse video of the unabridged stringing process:
Make clean Up
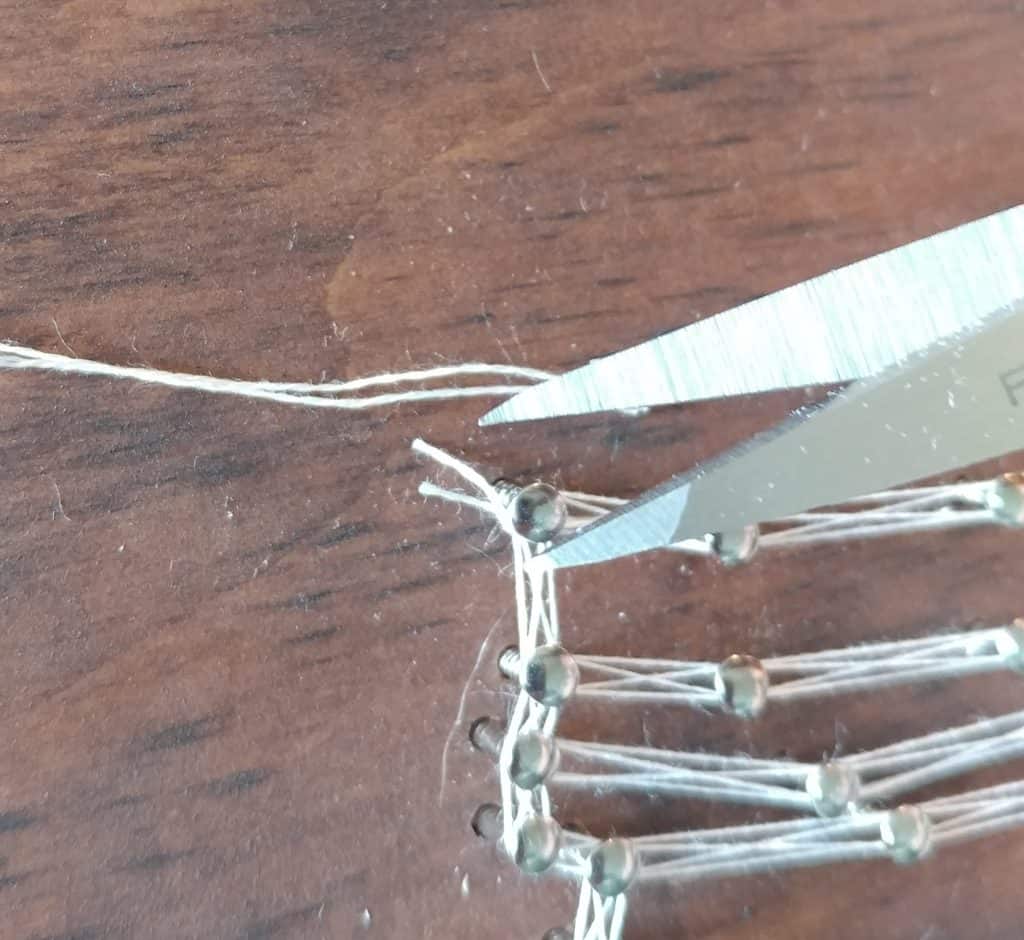
Yous'll then desire to use your pair of scissors and your glue stick to trim and glue your ends.
I practice each one individually, to make certain that I don't miss any ends.
Starting time I trim the tied off string down to almost a 1/four inch.
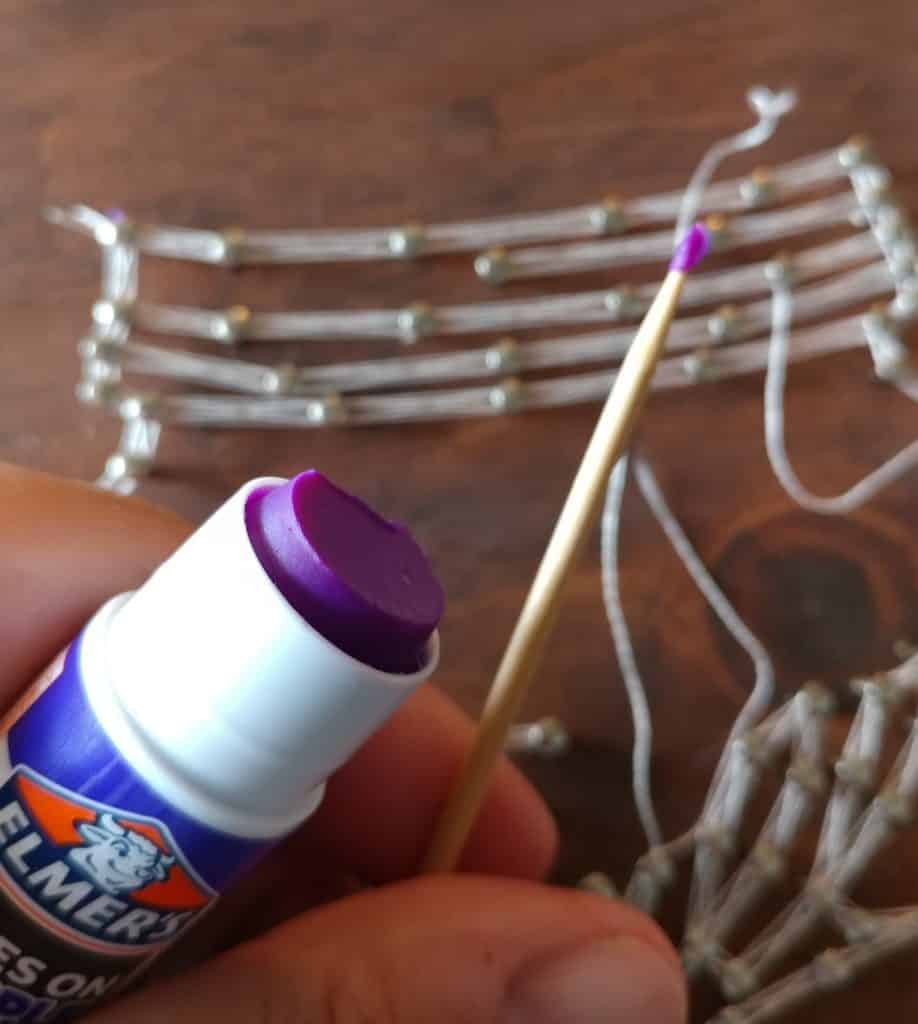
Then dab a small amount of gum from the gum stick on to the nail that has the loose ends.
Press the loose ends of the string into the glue, wrapping them around the nail, and then they aren't visible when looking at the piece.
I like using the purple glue that dries clear to assistance me know exactly where my glue is when I am working on this step.
I use a bamboo skewer for this step, but it is completely possible to simply use your fingers for this part.
Once all your ends are glued, you lot're ends are clipped and glued, your board should look something similar this:
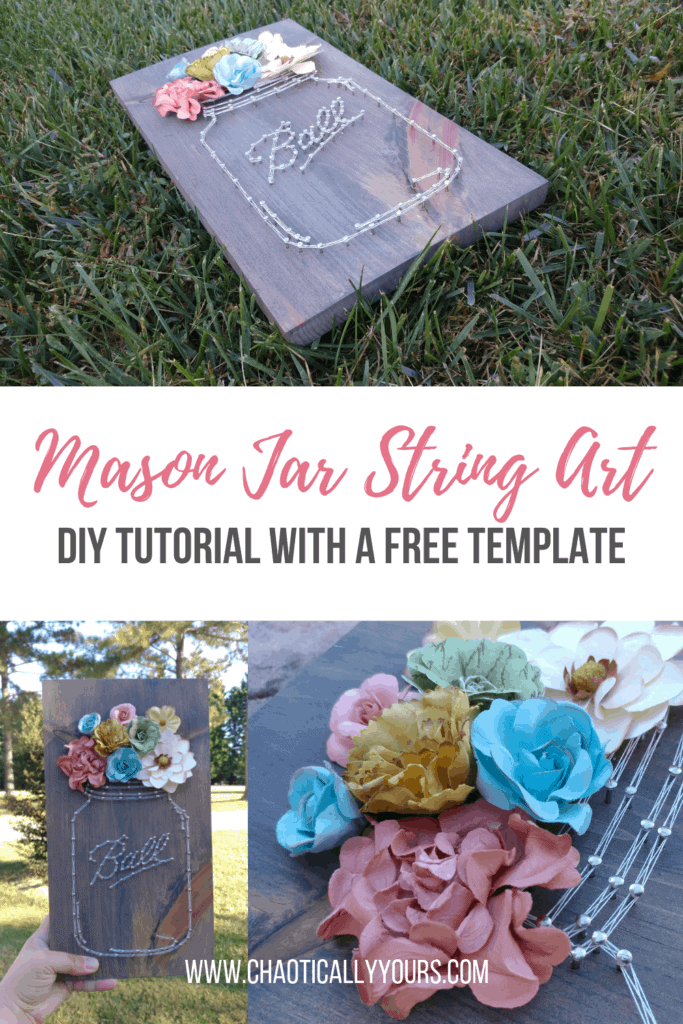
Flowers
At present you get to adjust your flowers!
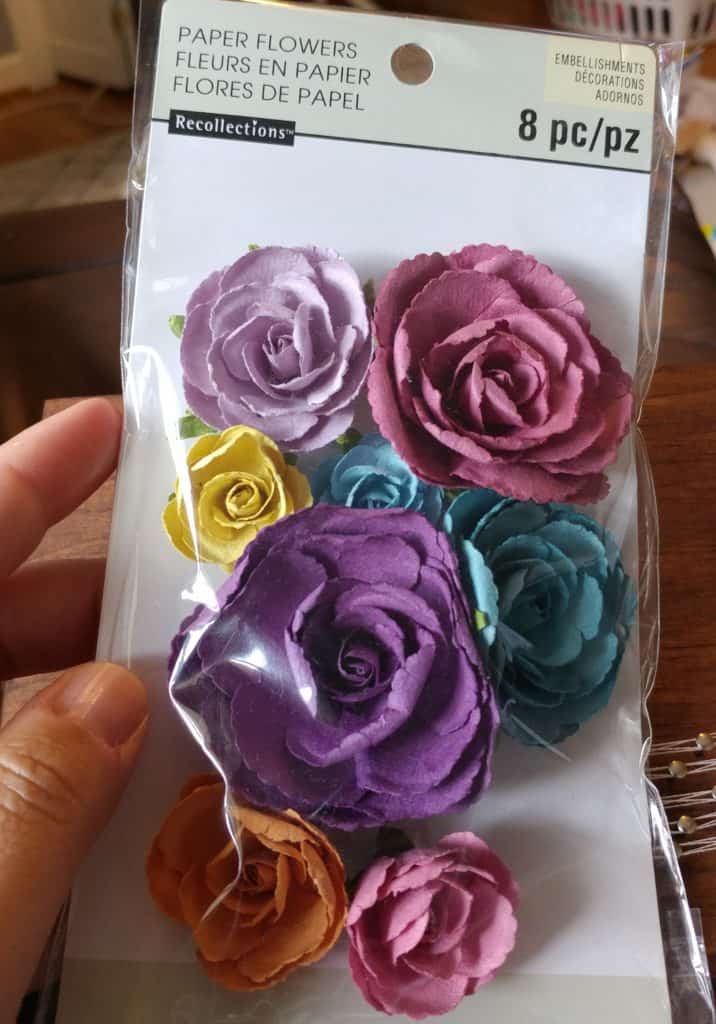
Subsequently gently removing the flowers from the packaging, arrange them on your board to make sure yous like the placement.
This tin can take a little tweaking.
After I have an arrangement I like, I glue the flowers onto the board one at a time.
I try to make sure each bloom has had about x minutes to dry before adding another ane.
This way I can bunch them closer together without shifting the position of the other flowers.
I forgot to put information technology in the supply picture show at the commencement, but I apply Aleee'southward Tacky Glue.
It'southward pretty cheap and is a great all purpose craft glue!
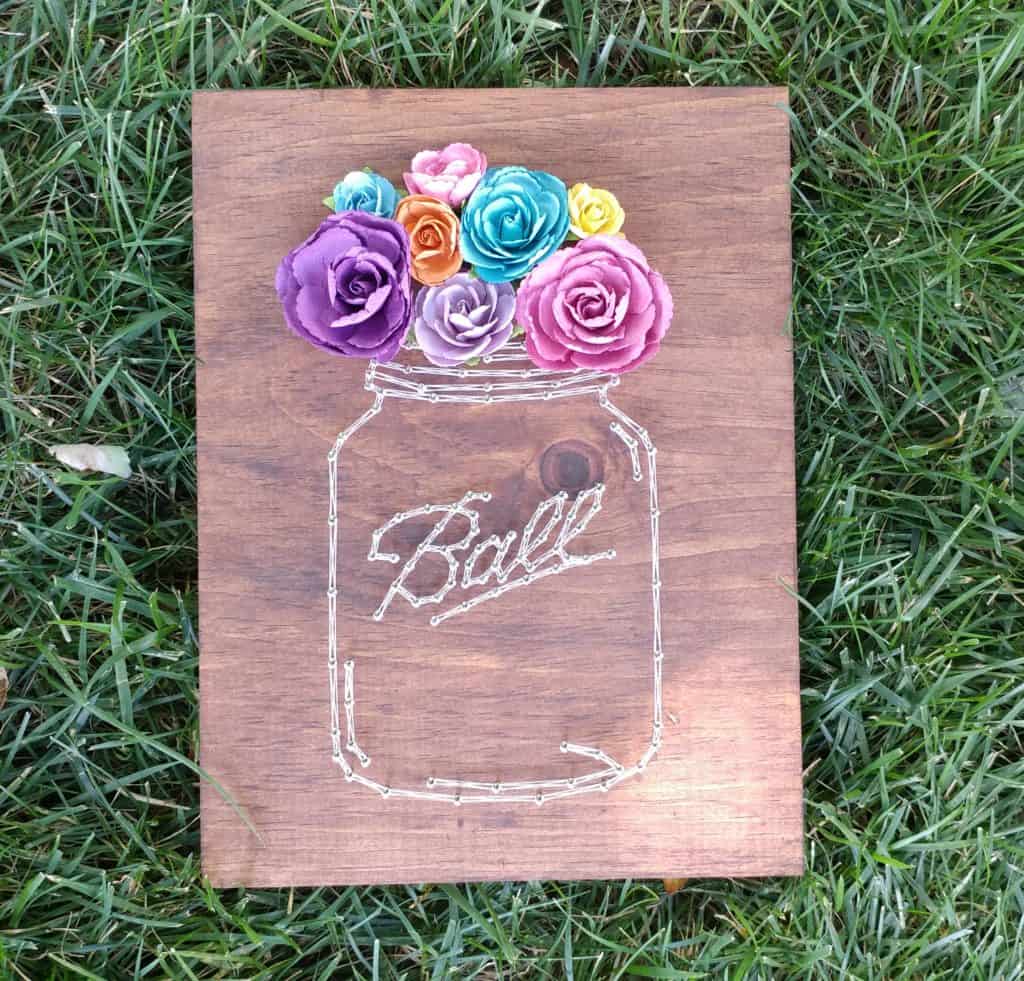
In one case your glue is dry, you lot add your saw tooth hanger to the back, and your piece is ready to display!
I'd love to meet how your versions of this project plow out! Send them to me on Facebook:
world wide web.facebook.com/chaoticallyyoursblog
DIY Mason Jar String Art Tutorial with FREE Blueprint
Source: https://chaoticallyyours.com/diy-mason-jar-string-art-tutorial/
0 Response to "Ball Jar Sign With Beads Diy Ball Jar Sign String Art"
Post a Comment